3D artist subsumed into the net by machines of loving grace.
Age 27, They/Them
Eldritch Being
Texas
Joined on 9/12/22
- Level:
- 8
- Exp Points:
- 644 / 710
- Exp Rank:
- > 100,000
- Vote Power:
- 5.04 votes
- Art Scouts
- 1
- Rank:
- Civilian
- Global Rank:
- > 100,000
- Blams:
- 1
- Saves:
- 11
- B/P Bonus:
- 0%
- Whistle:
- Normal
- Trophies:
- 1
- Medals:
- 8
- Supporter:
- 9m 22d
pinmoBOT's News
Posted by pinmoBOT - April 18th, 2025
I've rounded up a second collection of gun models I made for Bitgirl. The collection includes an M4, an M98B sniper rifle, an 870 shotgun, and the RPG7 that was featured in Sgt. Cheeseman.
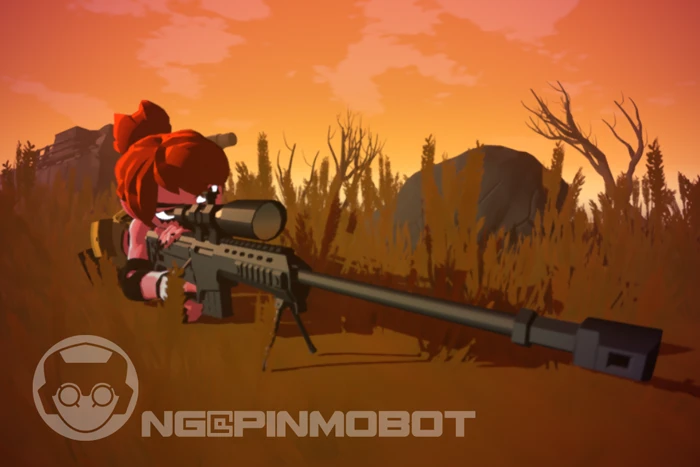
I unfortunately cannot upload zip files on Sketchfab anymore since it requires a premium account to be able to do so, therefore the gun models will be only available in FBX format. The new gun collection can be downloaded here >>> pinmoBOT's Gun Collection 02. Feel free to use these for drawing reference, for making 3D animations, etc. The only thing I ask of you in return is to credit me as their original modeler. If you can do it, then let these be of aid to you in your journey!
Posted by pinmoBOT - March 24th, 2025
Finished this real-time model of Mud from The Gaslight District trailer. His model uses ambient light and light source colors for dynamic lighting. I really like these cartoony ghoul designs and thought they would be a good exercise for making real-time 3D models.
Posted by pinmoBOT - March 23rd, 2025
I saw the trailer for The Gaslight District on Friday and I am personally looking forward to it. I wanted to share this WIP of a fan model I'm making based on the trailer because I love mister ghoul noir detective.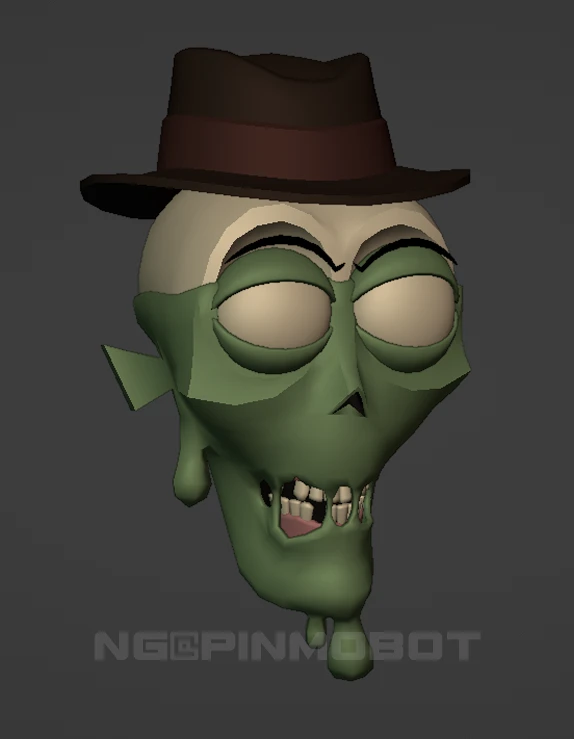
I'm probably gonna play Bloodborne the rest of the day because I recently got my hands on a refurbished PS4 and I've been wanting to replay it for so long. Eileen was killed by Henryk on this playthrough so fml, but we carry on.
Posted by pinmoBOT - March 19th, 2025
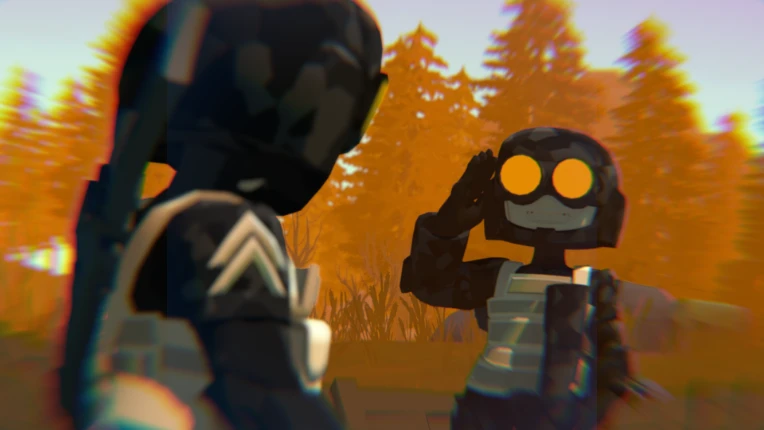
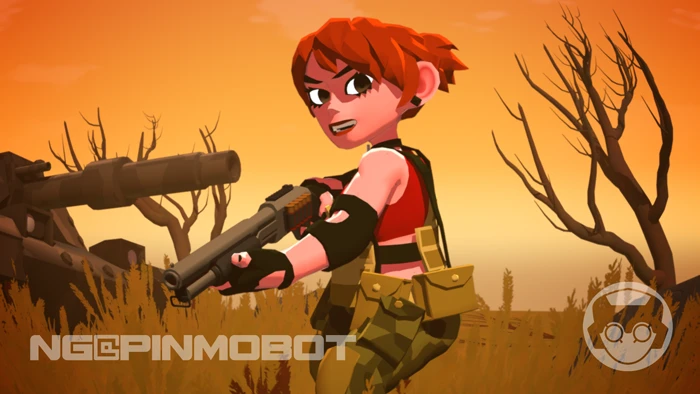
Made an animation with the Tankmen models, featuring Guerilla Bitgirl! You can watch it now here>> Sgt. Cheeseman
Hope y'all like it!
Posted by pinmoBOT - March 14th, 2025
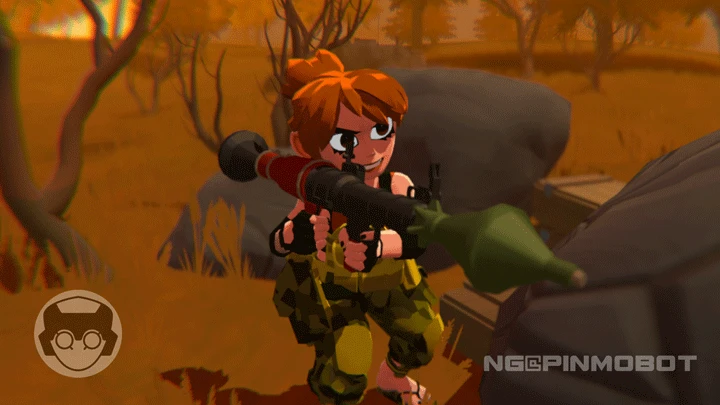
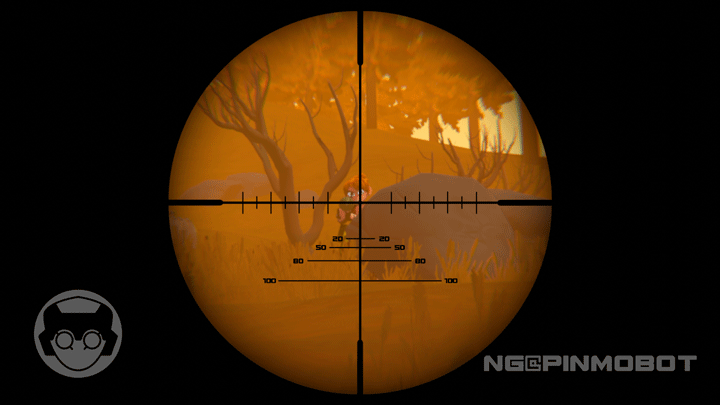
Hello everyone... I've been gone a while. Things have been busy at work so unfortunately I had to put all my personal projects on hold. However, I've got something new in the works: I gave Guerilla Bitgirl unrestricted access to explosives. This side of Newgrounds has officially become a warzone, so for the sake of public safety you are advised to evacuate the Orange Valley until further notice. I know I shouldn't have given her an RPG. I take full responsibility for my actions.
Posted by pinmoBOT - January 18th, 2025
Hello everyone... I made this video showing how to make a damped track bone chain. It's a hacky way to make wiggly bones. It isn't as fast as using Bone Dynamics Pro, but its a good way to fake bone physics with a lot of control over influence. I used damped track chains on Bitgirl to animate overlapping motions on things like hair and other attachments.